Snapchat Ad Manager Guide:
In this part of our Snapchat Ad Manager Guide, we will go on with how to register and manage ads on Snapchat for Business.
Just like with Facebook, Snapchat Ad Manager lets you create, manage, track, and optimize your ads. It’s free to sign up and get started, which has made it easier for small and medium-sized businesses to create Snapchat ads.
Signing up for the tool is quick and easy.
If you already have an account, click here to sign in:

If you don’t, click here to create your Snapchat account:
Log in and then enter your business information to create a business account:

Next, enter your payment information — for when you’re ready to start sharing ads. You can add a credit card or PayPal details or request a line of credit.
Creating Campaigns in Snapchat Ad Manager Dashboard
Now you have access to Snapchat’s Ads Manager:
Now you can create your first campaign based on your needs and the audience you want to target.
Step #1 – Set a campaign objective
The first step in creating your campaign is to set the objective of the Snapchat ad.
You have five campaign objectives to choose from:
- Drive Traffic to My Website
- Drive Installs of My App
- Re-engage My App Users
- Drive Video Views
- Grow Awareness

Next, give the campaign a name.
To stay organized, it might be helpful to come up with a naming convention for your campaigns. Something like [(Client name) – (Objective) – (Schedule)]
Then, set the schedule. You can set a campaign to start immediately with an indefinite run, or set a start and end date.

Finally, set a budget and click “Build your ad sets” at the bottom of the page.

Step #2 – Create A Snapchat Ad Set
Snapchat ad-creation tools let you structure campaigns in a way that is measurable and testable so you’re able to determine which ads are the most effective.
Snapchat ads are organized under a hierarchy of campaigns in Ad Sets and Ads.

On the ad sets page, you choose your ad set audience, budget, and schedule.
Your ad set audience is created based on your selections from five categories:
- Geography: You select a single country and the areas within it that you want to target.
- Demographics: Select audiences by age, gender, language, and advanced demographic categories, like household income.
- Audiences: Choose audiences by their consumer behavior and lifestyles; plus, you can choose custom audiences that are built from your Snapchat customer lists or groups that are similar to your Snapchat customers.
- Placements: Choose whether you want your ad in all of Snapchat or just delivered to Snapchat’s curated content (Snapchat’s Stories, Publisher’s Stories, and Shows).
- Devices: Select which operating system, connection type, and carrier you want to target.
To build your ad set, give it a name and then select the audience you want to target.
You have the option of choosing from a list of predefined audiences or creating your own custom audience.
Next, choose your ad format. This determines where your ad will appear in Snapchat:

The “Budget and Goals” selection lets you choose your daily budget, goal (swipe up, app install, impression), and bid amount.
Snapchat charges based on the number of times the ad is shown, not based on your goal progress. It does optimize your ad delivery for your goal action and bid amount, though.
The final ad set step of choosing your schedule includes the same two options as campaign schedules — start immediately and run indefinitely, or set start and end dates. If you’d like, your ad sets can have shorter schedules than their campaigns.
With these details set, you’re now ready to start designing your ad!
Step #3 – Build your ad
The first step is to decide on your ad creative:

As you can see, you can create your own, upload an image, or use an image from Snapchat’s Creative Library.
Fill in the rest of the information, and decide on which Snapchat ad type you’d like to use:

You have seven ad types to choose from:
- Top Snap Only: a video that doesn’t include an attachment
- Web view: an attachment to drive traffic to your website
- App install: an attachment that links to an app installation page
- Long-form video: a video teaser that can be swiped up to view a longer version of the video
- Deep-link: allows you to link to different kinds of web content
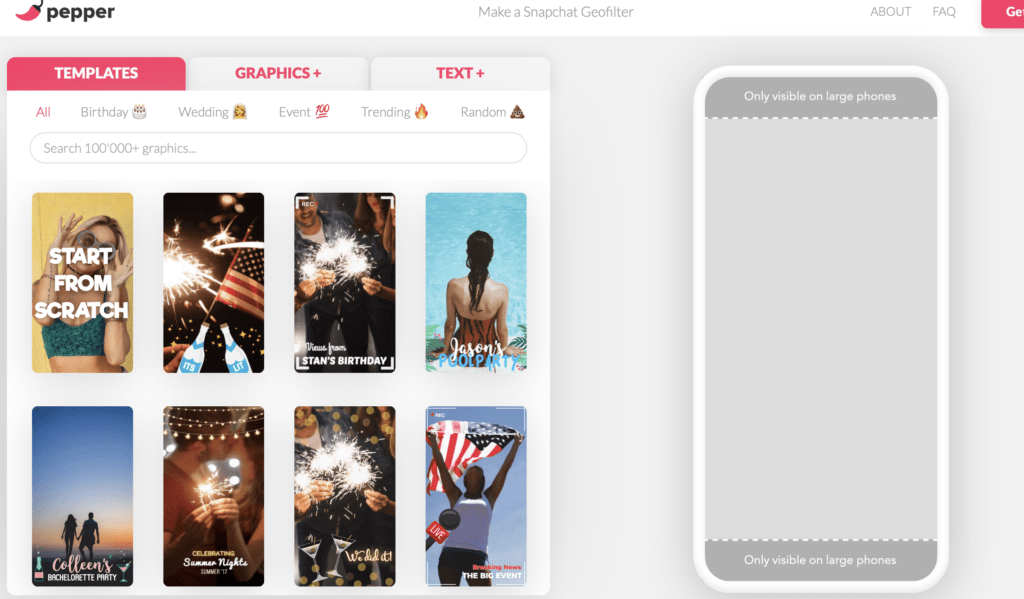
- Camera filter: filters that appear, based on a user’s location
- Story ad: ad content appears as a branded tile format
Once you’ve selected your ad type, fill in basic ad info and upload or create your ad content.
Depending on the ad type you’ve chosen, you may have to fill out additional info.
Step #4 – Publish Your Snapchat Ad
If you don’t have a media file or a vertical video handy, you can use Snapchat’s awesome Snap Publisher tool.
Just click “Create” next to Media File and you’ll be redirected to Snap Publisher.

What makes Snap Publisher an especially effective tool is its organization of templates by goal: drive installs, drive traffic, drive views, and drive awareness. Not to mention, the templates are all stunning.
Once you’ve uploaded your ad content and reviewed it, run your campaign by clicking “Publish Campaign.”
Your ad campaign is now ready!
Also Read: Snapchat Marketing: The Benefits of Snapchat Ads
For More Information About Advertising on Snapchat, read the next part of Snapchat Ad Manager Guide on Socializer Blog.
References:
Adespresso: Snapchat Ads: How To Start and Get Results in a Snap


